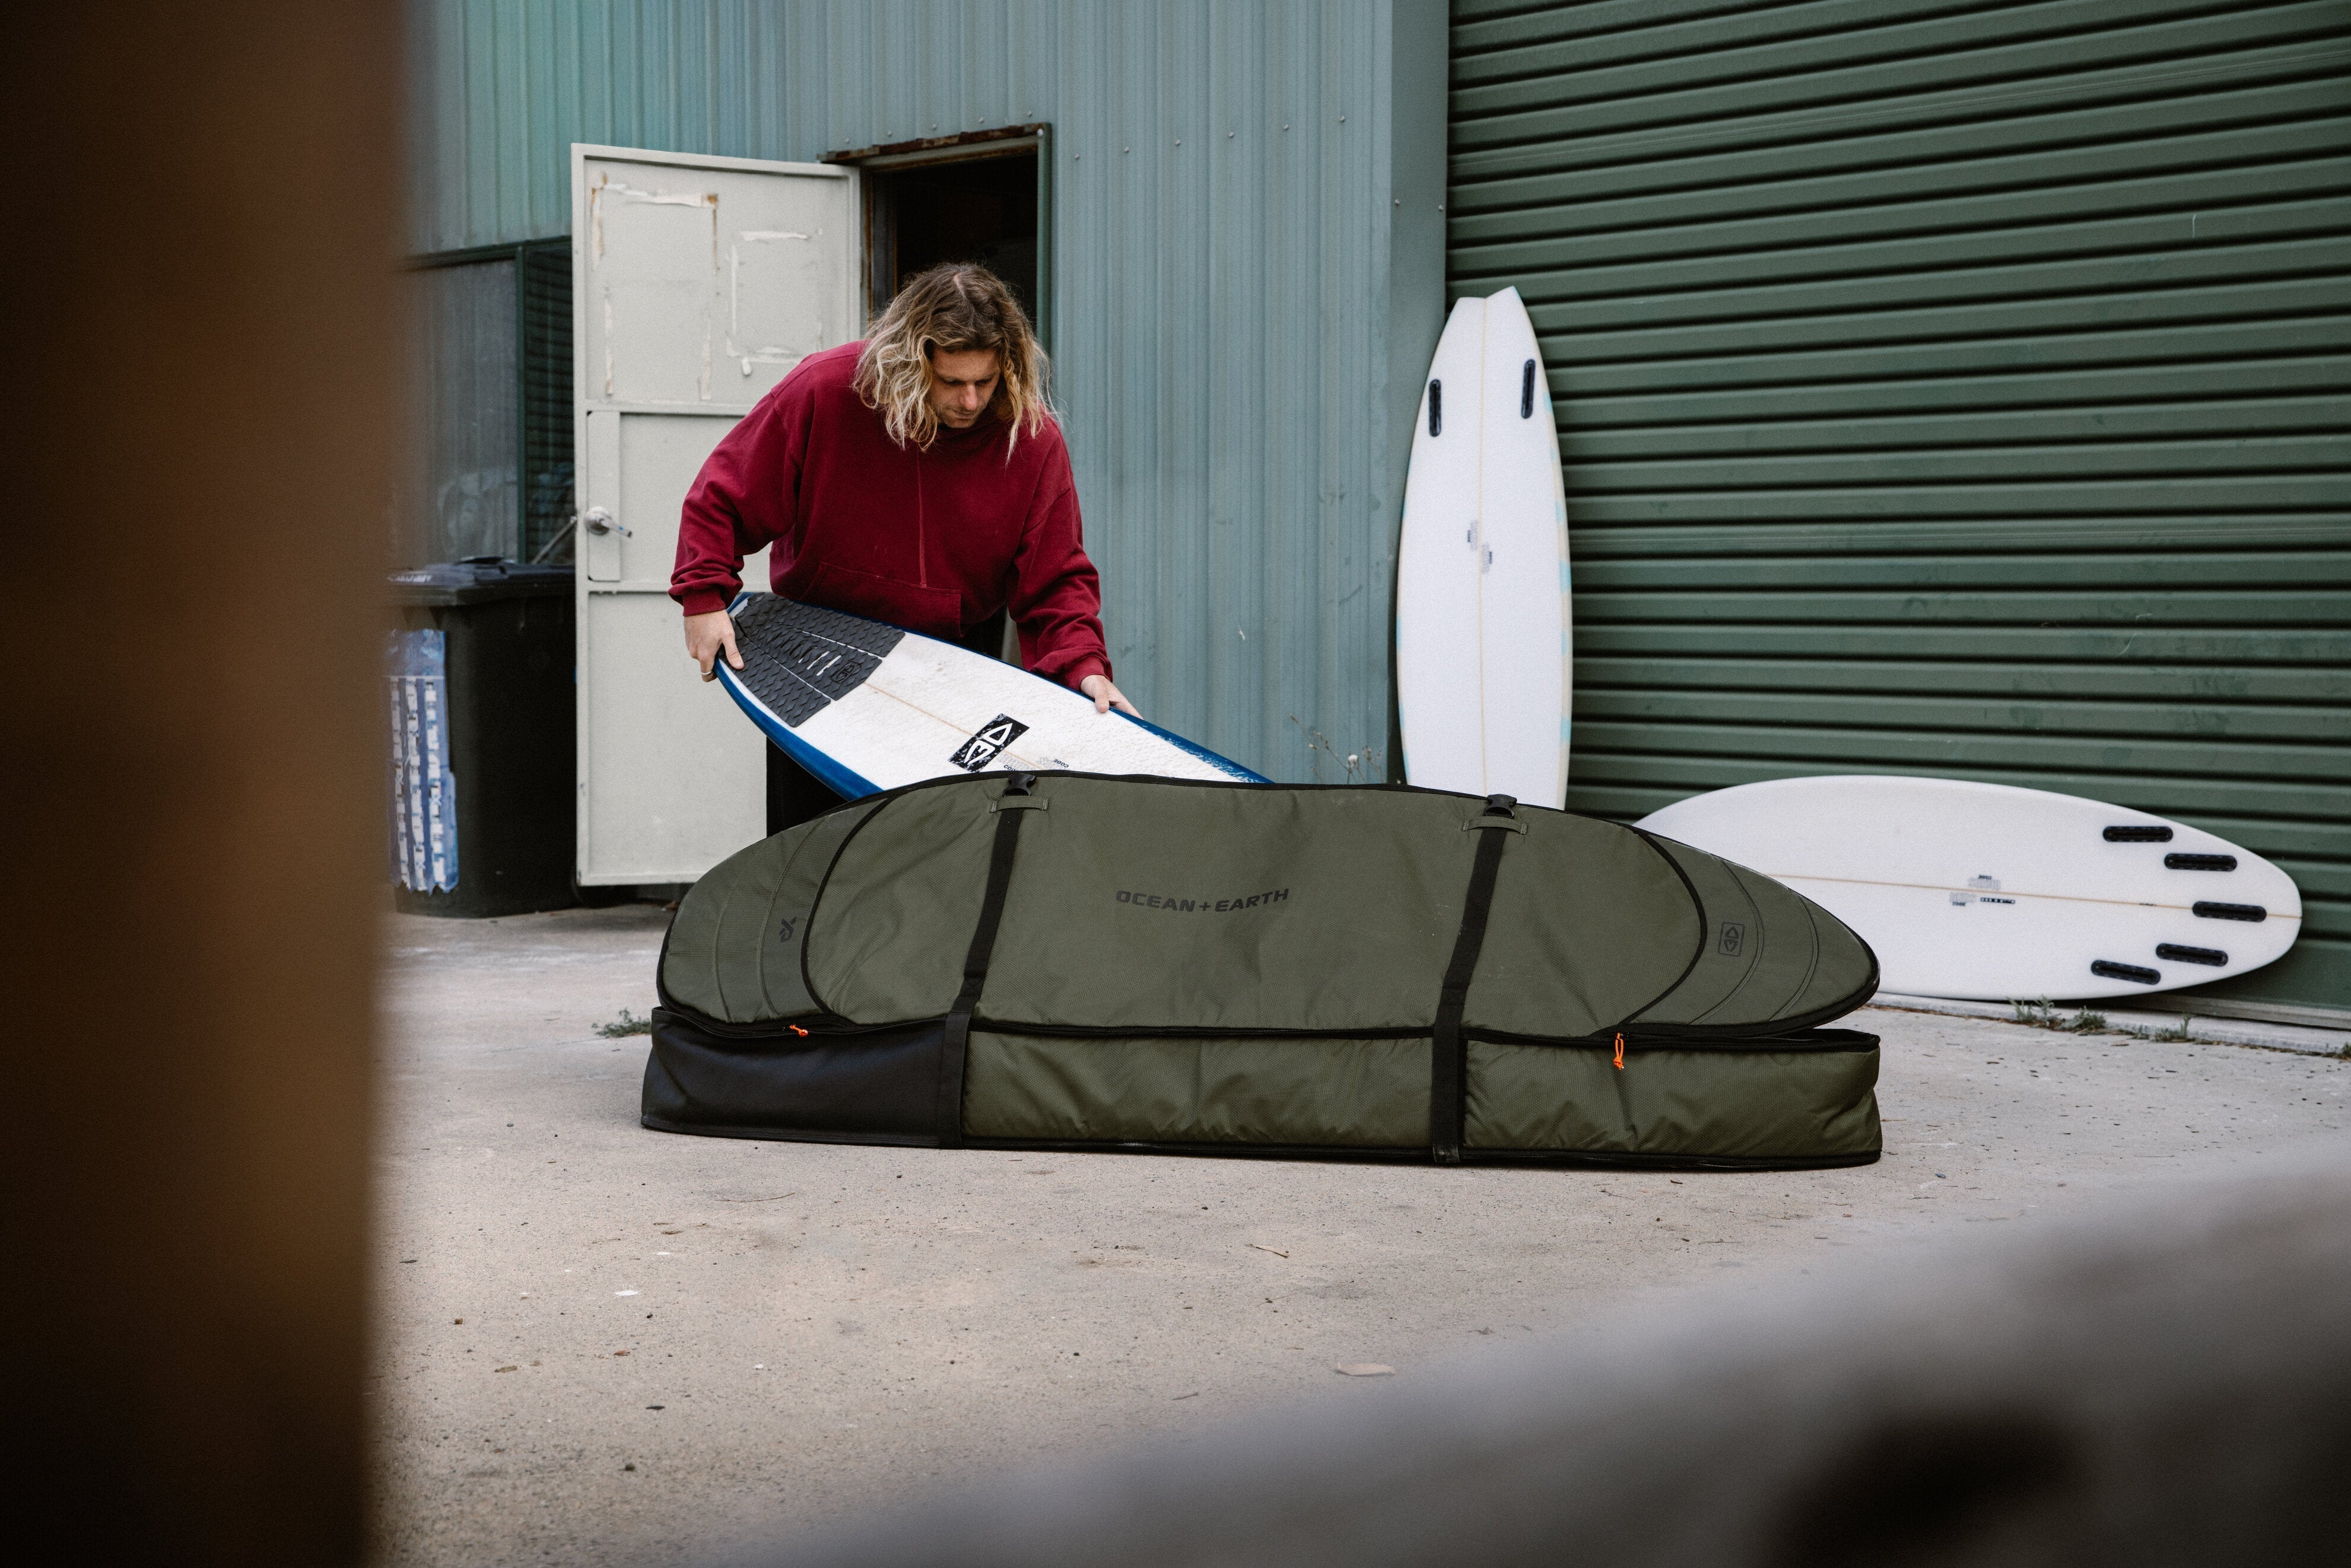












Heading to the beach should be cruisy.
The last thing you want to do is worry about your board sliding around on the roof or, worse yet, see it fly off the back of the car into traffic.
Learning how to tie a surfboard to a roof rack properly is one of those simple surf skills that saves you stress, money and even a potential crisis. A board that isn’t secure can cause pressure dings, scratches, rail cracks or worse... become a risk to other vehicles on the road.
Whether you’re heading down the coast for a weekend surf or loading up for long trips, this step-by-step guide will show you how to get your board strapped down safely and hassle-free.
Why Properly Securing Your Surfboard Matters
A surfboard roof rack setup might seem straightforward, but small mistakes can lead to serious dramas.
If your board isn’t secure, it can:
-
Slide forward under braking
-
Shift sideways in strong wind
-
Catch lift at highway speed
-
Rub on the rack and cause scratches or pressure dings
-
Fly off the back and be demolished by the car behind
Loose ends flapping in the wind can also create that strap hum. So annoying! Worse still, if something fails, your board becomes a hazard for other vehicles.
It’s not just about protecting your surfboard. It’s about road safety and responsibility. A proper tie protects your board, your car and everyone else sharing the road.
What You’ll Need
Before you start, make sure you’ve got the right setup. You’ll need:
-
A properly installed roof rack with crossbars
-
Quality tie-down straps or surfboard tie straps (cam buckle style preferred)
-
Optional foam pad or rack padding
-
Optional board bag for long trips
-
Optional soft racks if your car doesn’t have fixed bars
Cam buckle straps are ideal. Ratchet straps are generally a bad idea for surfboards because they make it too easy to overtighten and cause pressure dings. Avoid bungee cords aka occy straps. They stretch, loosen and simply aren’t secure enough for carrying boards at speed. Also... they're sketchy when it comes to eyes.
If you’re running soft racks, make sure they’re installed properly and sitting flat on the roof before you attach anything. Need premium tie-down straps or soft racks? You’ll find the right setup at Natural Necessity.
Step-by-Step: How To Strap A Surfboard To A Roof Rack
Step 1: Position the Board Correctly
Lay the board across the rack. For most situations:
-
Deck facing down
-
Fins facing up
-
Nose pointing forward
Deck down reduces wind lift because the rocker follows airflow better at speed.
Make sure the board is sitting evenly across both crossbars before you start looping straps. If you’re using a board bag, zip it fully and make sure nothing inside can shift.
Step 2: Centre the Board on the Rack
Position the board so the weight is evenly distributed between the front and rear bars.
You don’t want excessive nose or tail overhang. Keep the length balanced so the board doesn’t catch wind or flex unnecessarily.
If you’re carrying multiple boards, this is where stacking matters. Stack deck-to-deck and keep the heaviest board on the bottom. Add a towel or foam padding between them if needed. But remember to secure any loose corners or flaps so they don't whip and hum when you're driving.
Step 3: Loop the Straps Correctly
Now grab your strap.
-
Throw the strap over the board.
-
Loop it under the crossbar on the opposite side.
-
Feed the loose end back over the board and through the buckle.
-
Pull through evenly.
Keep the strap flat. Twists create uneven pressure and more wind noise.
Position the buckle so it doesn’t sit directly on the rails. If needed, tuck a small towel or rubber padding under the buckle to protect the board.
Repeat on the second rack bar.
Step 4: Tighten Securely (But Don’t Crank It)
Pull the strap until the board feels secure.
Push the board side to side. If it doesn’t slide, you’re good. You don’t need to reef on it. Over-tightening is how pressure dings happen. And the last thing you want is to crack your surfboard before the trip even starts.
Ratchet straps can easily overdo it, which is why they’re not ideal for surfboards. After driving a few minutes, double-check the tension. Wind and movement can cause straps to settle slightly.
Step 5: Tie Off Loose Ends
Loose strap ends flapping in the wind create noise and can slap against your car.
Tuck or tie the loose ends securely around the rack. A simple wrap and tuck works well.
If strap hum persists, add a slight twist to the strap section between the rack and the board. That small adjustment can reduce vibration.
How To Transport Multiple Surfboards
If you’re carrying more than one board:
-
Stack deck-to-deck
-
Heaviest board on the bottom
-
Add padding between boards
-
Make sure the fins aren’t digging into another deck
You’ll need slightly more strap tension but still avoid overtightening. If you’re carrying other gear like bikes or kayaks, make sure everything is balanced and not interfering with strap placement.
Common Mistakes To Avoid
Here are the big ones.
-
Using bungee cords: They stretch and loosen. Sketchy
-
Over-tightening straps: Causes pressure dings and stress
-
Placing the buckle on the rail: Can dent or crack rails
-
Twisted straps: Creates wind noise and uneven load
-
Not checking rack installation: Loose racks mean unstable load
-
Driving off without a final check: Always shake the board firmly before heading off
Avoid these and your trip will be smooth and stress-free.
Short Trips vs Highway Driving
For quick local drives to your nearest surf break, moderate tension is fine.
For highway driving at higher speeds, wind resistance increases lift and pressure. Double-check strap tension before merging.
On long trips (and especially in the hot Aussie sun), top occasionally and check everything is still tight. Heat can affect materials slightly over distance.
Final Safety Check Before You Drive
Before you jump in the car, run through this quick checklist:
-
Board centred and positioned properly
-
Straps flat and tight
-
Buckles not sitting on rails
-
Loose ends tucked
-
No movement when you shake the board
If it slides, tighten slightly and check again.
Final Thoughts
Knowing how to tie a surfboard to a roof rack properly makes every surf trip easier. It’s quick, it’s simple and it protects your board, your vehicle and other drivers on the road.
Once you’ve done it a few times, it becomes second nature. No stress, no worry. Just load that bad boy up and head to the waves.
If you need quality tie-down straps, soft racks, foam pads or a solid board bag for longer drives, check out the range at Natural Necessity and make your next drive to the surf hassle-free.
View our range of straps, racks and more today